Thursday, June 10, 2010
Wednesday, June 2, 2010
Saturday, May 29, 2010
Zippered Clutch
I mentioned awhile back that I had never worked with button holes or zippers. I'm proud to say that, that no longer applies. I fell in love with this little zippered clutch from another website that I adore. So I was quick to find some cute fabric and sit down to try my hand at it. This first picture doesn't show the ruffled detail of the pink and brown fabric. You can see it more on the last picture though.
I've used this clutch so much that I've already gotten in the habit of leaving my purse in the car and just taking my clutch in stores with me. It's so much easier to keep up with and use. I see more of these in my future. Not to mention that this fabric goes great with the last Mommy Bag I made.
Wednesday, May 26, 2010
Tuesday, May 25, 2010
Freezer Bag Ice Cream.
This is perfect for a summer day and maybe something I'll do at Isaac's next birthday party.
Ingredients:
1/2 cup of milk
1/2 tsp vanilla
1 TBS sugar
4 cups of crushed ice
4 TBS salt
2 quart size Zip-loc bags
1 gallon Zip-loc bags
Pour the milk, vanilla, and sugar into one quart Zip-loc bag.Ingredients:
1/2 cup of milk
1/2 tsp vanilla
1 TBS sugar
4 cups of crushed ice
4 TBS salt
2 quart size Zip-loc bags
1 gallon Zip-loc bags
Try to get as much air out of the bag as possible and close tightly. Now mash it around for a bit.
Then put this bag into another quart size Zip-loc bag and close tightly, with as little air as possible. (In retrospect, using the slider bags wasn't a great idea. Some of the milk did leak out during the making of the ice cream.)
Now place the doubled bag inside one gallon size bag and fill the bag with ice. Sprinkle on the 4 TBS of salt. Let all the air out of this bag as well and seal the bag.
Now grab a towel, or even a pair of gloves and start shaking. Make sure the ice surrounds the milk mixture and keep shaking for 5-8 minutes until the mixture freezes.
There you have it, a perfect serving of vanilla ice cream.
Monday, May 24, 2010
Sandy Beaches.
My sister and brother-in-law were gracious enough to invite the kids and I on a beach trip to Cape Hatteras two weekends ago. It was so much fun. None of the kids had every camped out before let alone at the beach so it was a great experience for them as well as for me. Here are some really great beach pictures of all the fun we had at the beach.
Friday, May 21, 2010
Another one.
I whipped another Mommy Bag the other night. I wanted to sew, didn't have anything else I was really wanting to get involved in and had this great pink and brown fabric. This is my favorite one so far.
Thursday, May 20, 2010
Cana.
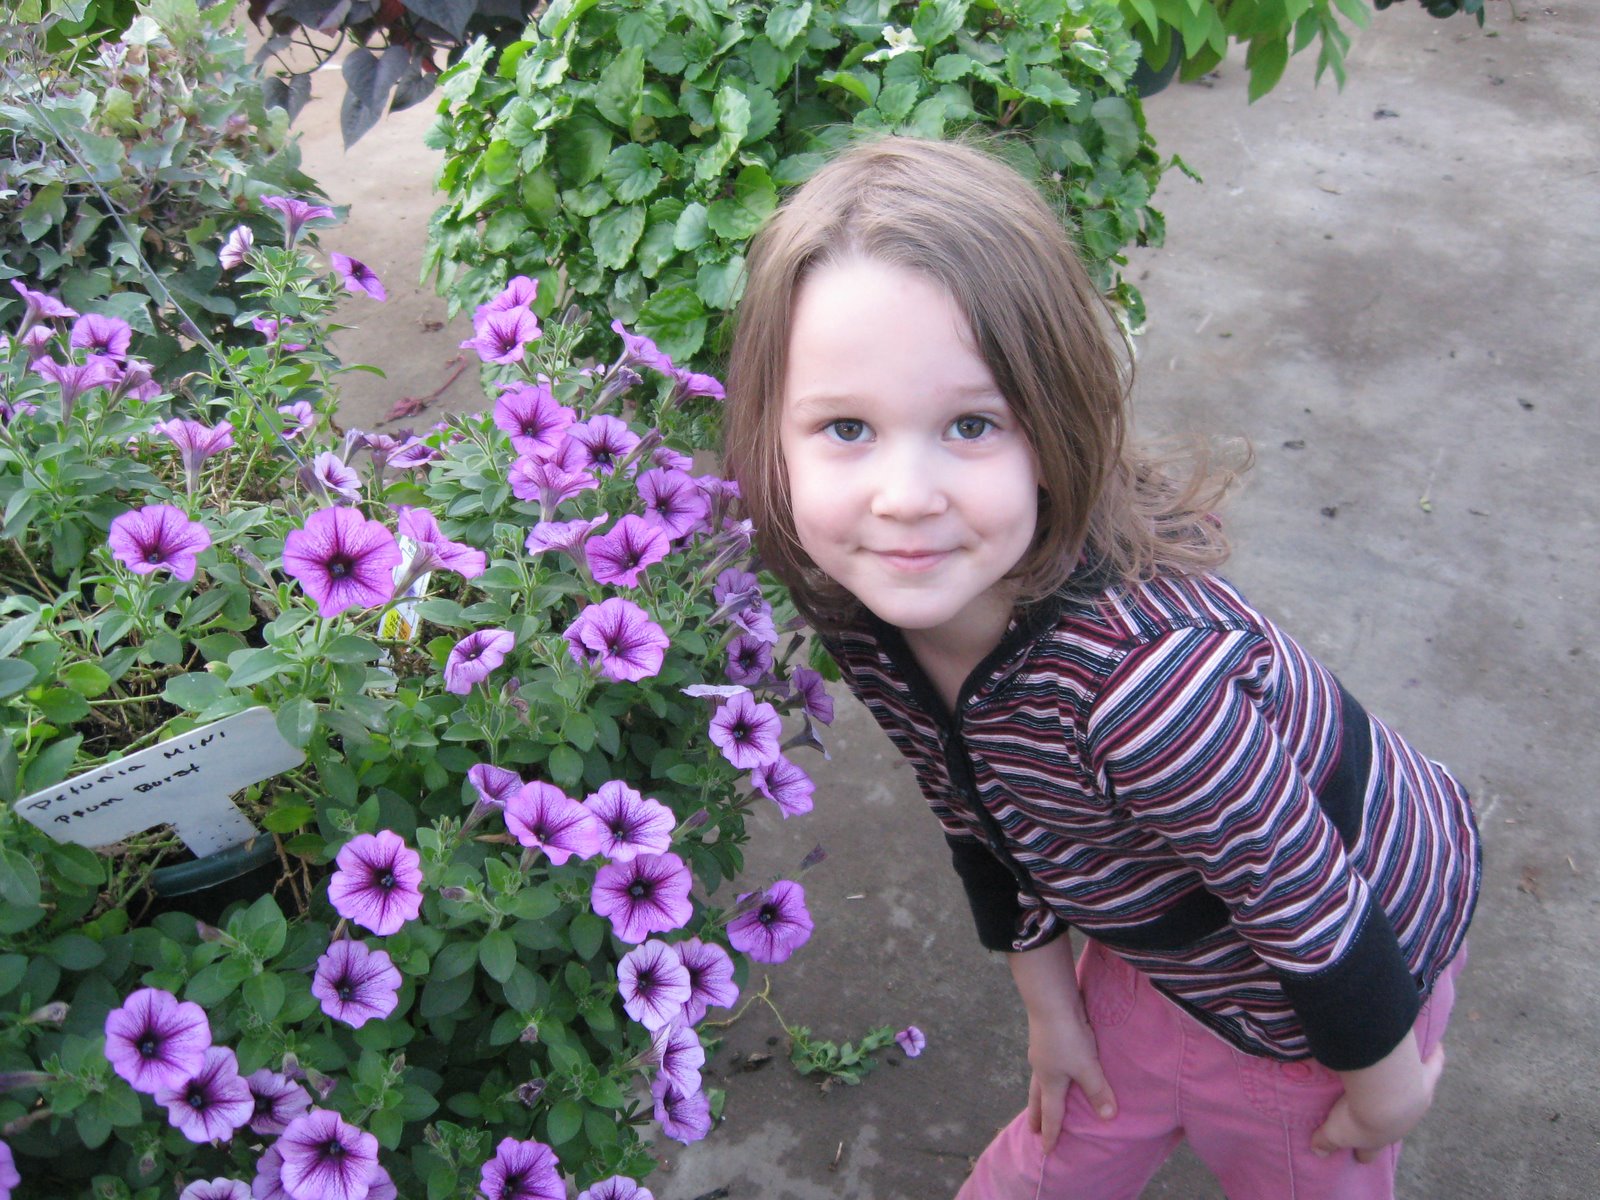
My mother and I went to Cana for Mother's day with the kiddos. I hadn't been in years and years and was excited to see for myself all the gorgeous flowers my mom brought home every Spring.
Really, why can't I have them all?
Oh yes where in the world would I put them?
Not only did Cana have wonderful flowers but a great Farmer's Market. I love pictures that turn out so well without a flash.
Look at these massive green onions. I wanted all of them!!!
Inside the market was full of local made goodies too. Like a jar of Bacon Dressing for $5.
And Moonshine Jelly. I've never tried Moonshine and I'm not sure I want to try it in jelly form anyway. Where else could you find this sort of thing?
Mackenzie got all excited about the flower selection. She was running back and forth snapping pictures of the blooms with her picture phone.
We also came across an actual albino deer that someone had had stuffed. The kids were amazed and spent a lot of time walking around the glass box asking if it was real. This is more a typical picture of my kids, Isaac not making eye contact with the lens and Evan Grace acting goofy the second before the flash flicks. *sigh*
One of the owners of the Market had found a baby calf laying beside his dead mother and took him into the store to care for him until he was old enough to sell. He was such a quiet thing. Yes, the kids did ask if we could take him home. I had to say no, but I didn't want to.
I want to live in Cana. I want to be within walking distance of the great Farmer's Market and all the little road side shops full of veggies, flowers and concrete garden statues. For now I'll have to make due with the yearly trip in for gorgeous hanging flowers and plants.
Wednesday, May 19, 2010
Saturday, May 15, 2010
The Beast
3 days I worked on this purse. 3 days I spent cutting fabric, measuring everything just so, ironing everything flat, folding in the edges for smooth, tight hems. Then slowly piecing the right pieces together, making sure I followed the directions for this bag to the letter. 3 DAYS!
It's cute, I love the fabric still. I love that the white isn't white but more of an off white cream.
It even has a big inside pocket and a stiff bottom so you can stuff this thing full.
Sadly I've named this bag 'The Beast'. It not only took awhile but I made stupid mistakes with it, the kind of mistakes I haven't made in a long time. I messed up on the straps, making them way to small to fit the look of the bag and I missed a part of a seam and didn't catch it until there was no turning back.
In all honestly I can take this bag apart and start over, but in reality I refuse to do it. I'll use this bag for storage, maybe to hold sewing scraps and such in, but I will not take this beast apart and redo it. I'll start from scratch and see if The Beast 2 doesn't turn out better.
Friday, May 14, 2010
Almond Puff Bites
Don't you just love summer desserts? The fresh fruit blended in or sprinkled on top of something is so much better in the summer. Here's a recipe I'm adding to my recipe book. Delicious.
Take one sheet of frozen puff pastry and thaw it as directed on the back of the box. Usually just set it out at room temp for 40 minutes.
Unfold it carefully on a floured surface and roll it out to a 12x12 square.
Then cut the square into 6 rows by 6 rows to make 36 squares.
Bake at 400 for 10-12 minutes. Just enough for them to golden.
Set them aside to let them cool for about 15 minutes.
Take 1/2 cup of Blackberries or Raspberries, whichever you prefer and mash the smithers out of them in a bowl. Set them aside.
Then in a medium size bowl beat together:
3/4 cup whipping cream
1/3 cup powdered sugar (less 2tsps to be used for later)
1/2 tsp almond extract
Whip this until stiff peaks form. A good way to test for stiff peaks is to turn your beaters off, dip them into the mixture and then turn your beaters upside down. If the triangles of mixture don't slump over or ooze and stay pointy, you've got stiff peaks.
Fold in the smashed blackberries or if you don't 'mind the cream mixture turning colors just whip them in with the mixture for a few seconds.
Split each puff in half and spread about 1/2 tsp of the cream mixture on the bottom layer; replace the tops. Then you can either dip a blackberry into the cream mixture and press it onto the top of each puff or spoon a bit of the cream mixture onto the top of the puff and then the berry. I found it less messy to just spoon some mixture onto the top and then place the berry. :)
Sprinkle the remaining tsps of powdered sugar onto the tops and enjoy.
Subscribe to:
Posts (Atom)