Monday, November 8, 2010

Pillowcase PJ's

For some odd reason my mother has given me 5 or 6 new pillowcases in different colors and sizes. I'm not sure what she was doing or thinking when she picked them up but her craziness was my gain in this instance. Now I have an abundance of pillowcases, and some of them aren't in matching colors of my bedroom or the kids room. Evan Grace needed pj's though and this over sized pillowcase had more than enough fabric to refashion.

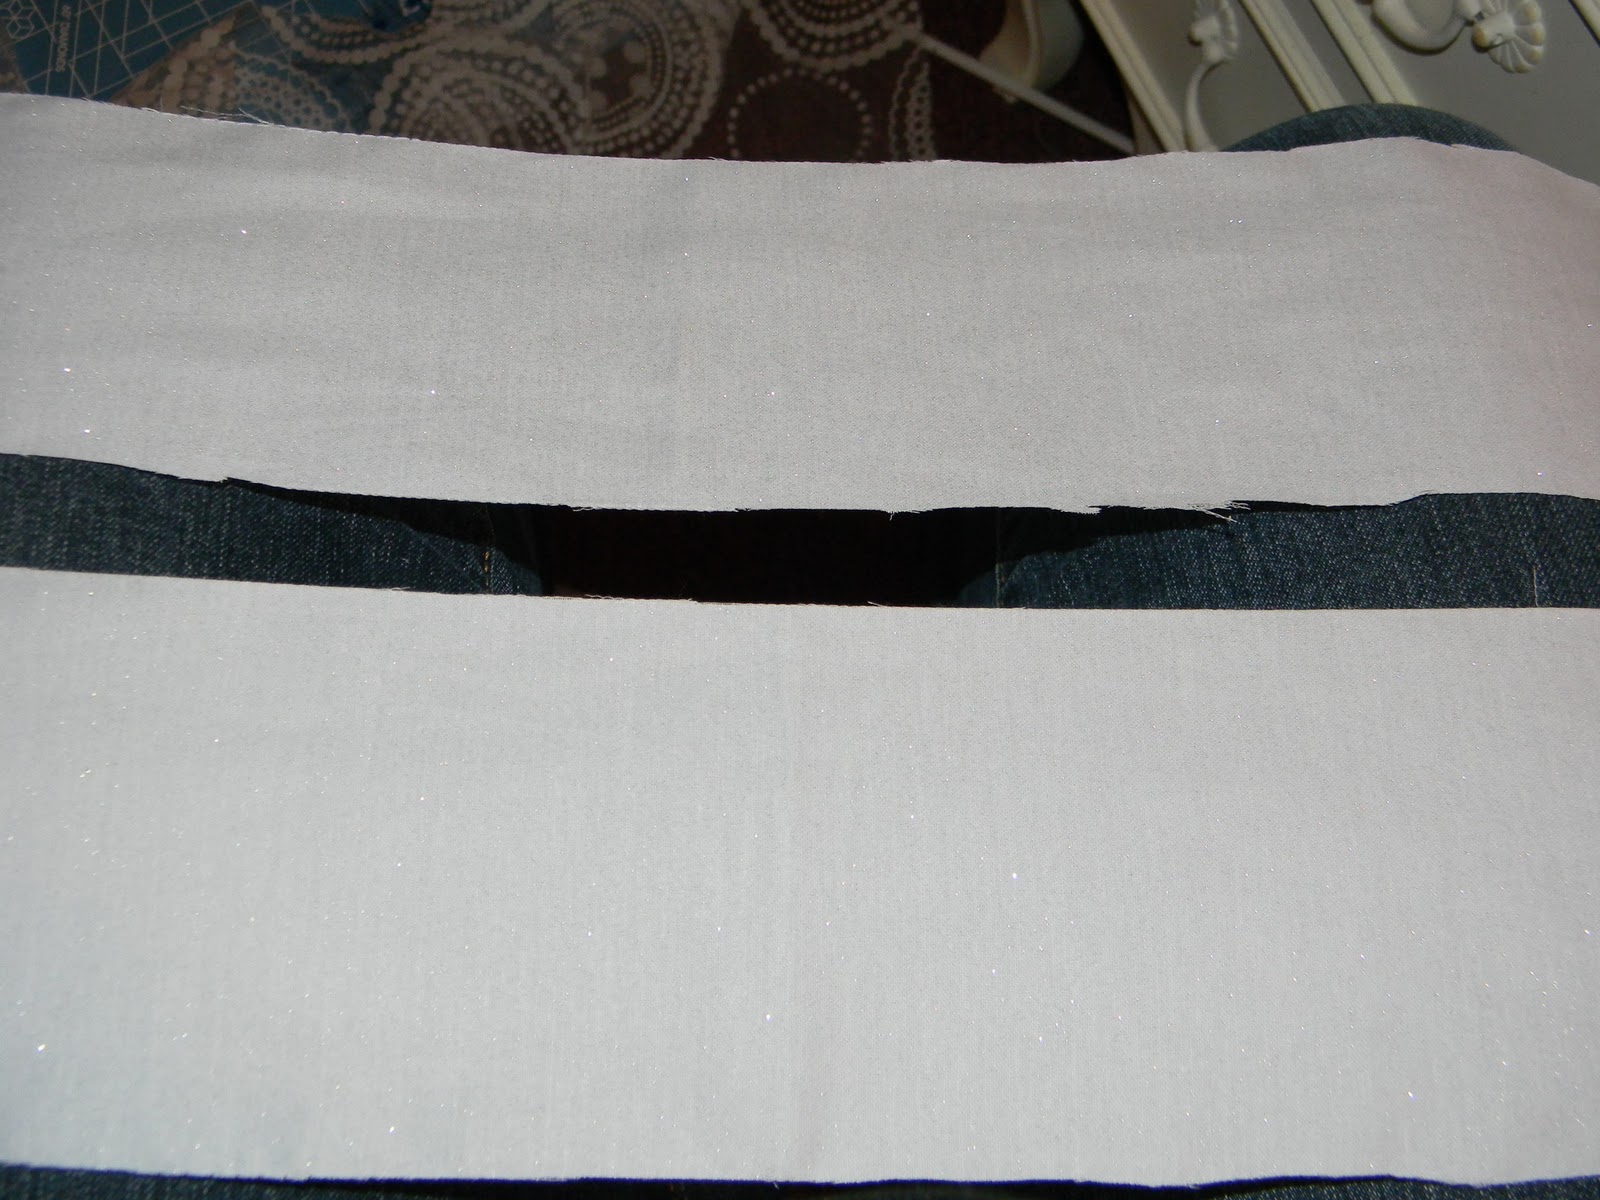
I cut the bottom border of the pillowcase off (the part that's open for sliding the pillow in). The top part of the pillowcase needs to be cut open, if you have an extra long pillowcase like I do you may want to take more length off, which you can do either from the top or the bottom.
Now, pick a side, the top of the bottom part of the pillowcase and turn down about an inch of fabric and sew into place. Leave a 3'' opening for inserting the elastic.

Measure around your little one's chest where you want the top of the pj dress to sit and add 1'' to your measurement. Cut your elastic this length. Snap a safety pin to one end of your elastic and thread through the pocket you created by turning down 1'' and sewing. (Excuse the crazy mess of threads, I did cut that off before finishing). When you've threaded your elastic all the way through, sew the ends together with a zigzag stitch to make it strong then sew the opening closed.
Take the border of the pillowcase that you cut off in step one and cut it in half length wise. I used these pieces to make the straps. Fold right sides together and sew down the outside edge. Turn right side out, fold up the edges and sew into place. I didn't take any measurement for this step because it all depends on your little tykes measurements.
I had so much fabric leftover I was able to sew a ruffle onto the bottom of the nightgown.
A tip to consider: Sew the straps to the front first, then try it on your little one to pin the back part of the straps into place, BUT pull the straps on the back in towards the middle some. This really helps keep the straps from falling off the shoulder.

Posted by Picasa

Saturday, November 6, 2010

Pleat and Button Pillow.

I'm on a slow mission to make my bedroom exactly how I want it, no exceptions, and I want the majority of it to be things and creations that I've made FOR my bedroom. I made some cool 3D Wall Art a few months back, that I simply adoreso it was time to move on to accent pillows.  I love my duvet but I wanted some cutesy, froufrou pillows.

When I made Boy Toy's messenger bag I had a little bit of the inside black poplin leftover. It was just enough to cover a 14 x14 pillow and I had a neat idea for a cover in mind.

Since my pillow was 14 x 14 I cut two pieces of the poplin 15 x 15 for the front and back of the pillow. Then I cut 1 piece 3 x 15 of a contrast color and fabric. My duvet is black, white and silver and I had a lot of white fabric on hand so I went with white.

Fold the white strip in half, wrong sides together and pin to the front of your fabric, vertically, 7'' in from the left side. Pin in place and sew to the right side of the front of your pillow.
Once it's sewn in place, turn the strip over to where the folded edge is towards the right edge of the front piece of fabric. Sew in place again along the left side of the strip. It's very much like making a French seam. You can press in place or leave the fold loose. Since I broke my cute little ironing table/board I opted to not worry with the iron on this one.
Here comes the fun part, or it was at least for me. I went for white buttons, but you can easily use different colored buttons and buttons that are different sizes as well. Whatever you decide on space them evenly down the right side of the white pleat and sew into place. (A trick I use to keep my buttons in place while placing and sewing them with the machine is to tape them down with scotch tape. Once you're finished sewing them on simply pull the tape off).
Take the other 15 x 15 piece of fabric you cut for the back and with right sides together lay it on top of the front of your pillow. Sew all 4 edges, leaving a few inches for turning right side out and stuffing. I had a pillow insert instead of stuffing so I added in a zipper on the side of my pillow, but that's optional. With 3 kids I like having the ease of zipping off a pillowcase to toss in the washer for when they spill or decide to nap on one of my pillows without washing the chocolate bar they just inhaled off their face first. :)
I really, really, really love how this pillow turned out. It has a bit of a masculine quality to it, and it super trendy right now. Not to mention that it goes with my duvet per...fect....ly!!!!


I'm linking up:

http://itssoverycheri.com/
http://www.iamonly1woman.blogspot.com/

Funky Junk's Sat Nite SpecialPhotobucket

PhotobucketUndertheTableandDreamingBWS tips button

Keeping It SimpleMaking

Friday, November 5, 2010

Here and Gone October.

Where has October gone? I still feel like it's August instead of 2 months away from Christmas.

I guess I lost track of days watching the kids play Just Dance on the Wii.
Then there were the few days I had to take Kenzie to the ortho to see if it was time for her braces to come off, then back to the ortho to take them off and tomorrow we'll be at the ortho so they can fit her for a retainer. Yeah, I guess I lost a few October days there.
Evan Grace turned 5 of the 12th. Even though she promised to always stay 4 she couldn't seem to slow down the hands of time enough to keep that promise.
Then there were days and evenings spent with Boy Toy. Evan Grace seems to really miss Boy Toy when work takes him away from us for a few days at a time. It's sweet and I'm sure I've lost track of a few October days in Boy Toy's blue eyes, even though Daisy swears she loves him more than I do.


Ahhh October I'll see you again next year.


Posted by Picasa

Thursday, November 4, 2010

Inside-Out Peanut Butter Cookies


5 words for you: I Will Make These Again!!!!!

1 pouch (1 lb 1.5 oz) double chocolate chunk cookie mix, or chocolate chip
1/4 cup vegetable oil
2 tablespoons water
1 egg
1/2 cup marshmallow creme
1 bag (10 oz) peanut butter chips or1 2/3 cups
2 tablespoons shortening


Heat oven to 350°F. Make cookie dough, using oil, water and egg, and bake as directed on package. Cool completely.
Spoon about 1 teaspoon of marshmallow creme on the bottom of half of the cookies. Top each with a second cookie, bottom side down; gently press together.
In small saucepan, heat peanut butter chips and shortening over low heat, stirring frequently, until melted and smooth. Spoon about 2 teaspoons peanut butter mixture over each cookie, spreading with back of spoon over top and side. Place on waxed paper. Let stand 30 minutes or until set. (The picture above is of the cookies before they set up).

I made these larger than the recipe calls for, these are so rich you may want to start off making them smaller instead of enormous like I did. :) 
Posted by Picasa

Wednesday, November 3, 2010

Vanilla Pears.

My dad asked me if I wanted any pears. I said sure, I thought: 'how many pears can one person have to just give away?. Turns out he works with a lady that has a few pears trees in her yard and she doesn't do anything with them. She brought my dad a Home Depot reusable bag full of pears, it's just like my Office Depot bag. I should have answered my dad, "Sure, but just a few pounds." I'll know better next time.

I decided to make canned Vanilla Pears.

Start with 8lbs of pears.
Peel, core and slice them.
Add 4 tbs vanilla, 41/2 cups water, and 2/3 cup sugar in a large pot and bring to a boil.
Add in your pear slices and let them boil for 5 minutes.
Pack the jars with pears, then pour the hot syrup over the pears leaving 1/2" headspace before screwing on the lids. Flip upside down until they are completely cooled.

I eat these over fat free cottage cheese for breakfast or a late night snack. Some of the pears are a little too crisp for my liking but it's very yummy. I think it'll go great with Greek yogurt or even vanilla yogurt with a sprinkle of granola too.


Posted by Picasa

Tuesday, November 2, 2010

Pinch Pots.

Our Art lesson Wednesday was making Pinch Pots. The recipe is easy, mix together
1 cup of flour
1/2 c salt
3 tbsp oil
1/2 c water
add in a few drops of food coloring if you wish.

It's a bit like the dough for the Salt Maps, but this kind is bakeable...is that a word? After you let your creations dry for 3 days just pop it in a preheated 350 degree oven and cook it for 45 minutes. If you've got a really thick creation you might want to let it cook a little longer. If it's a thinner, smaller masterpiece then maybe a bit shorter. Just keep an eye on it.

Start by making a big ball out of a good amount of clay. Place it on a flat surface and press your thumb into the middle of the ball. Then slowly pinch the walls of the dough so they begin to thin out and up.
If you make a rather large pot then crumple up some newspaper and place it in the hole. Then turn your pot over and start on your creation. We've been studying Durer's The Hare for about a week so we were going to make rabbits. We made long legs, ear, and a bunny tail. The kids used forks to try and scrap at the clay to add a fur looking type of texture.
This is Evan Grace's rabbit....I swear she made Rabbit poo just for this picture.
Once the rabbits were drying out, it was time to play with another batch of clay and make whatever we wanted. Isaac asked me to make him a dragon and I tried, I really really really tried. I got this far....pretty good right,....before I decided it was better for me to keep my sanity than try and finish this dragon. It was the second wing that was giving me trouble. I couldn't get it to stay no matter how much crumpled paper I had underneath it. I like my half finished dragon, I was kinda sorry later on that I colored the clay a pink flesh color....it just made it look, well, creepy.
If you end up with extra clay, or make two batches like I did you can keep this in a refrigerator. If you notice it starts to get a little wet or sticky just add a little bit of flour to the clay, knead it in and you're ready to play again. I like this recipe a lot better than Play Do, it's softer and if it gets stuck in the carpet or on clothing it flakes off after it dries or melts away in the washing machine.

Oh, before I forget, once you get ready to bake your project make sure you take the newspaper stuffing out of the pot area so you don't catch anything on fire.


Posted by Picasa

Monday, November 1, 2010

Messenger Bag.

I just finished reading a friend of mines latest blog post over at Sew Random about not getting a chance to sit down and sew anything for a couple of weeks. I've been having the same struggle the past month but this past week I was happy to sit down and jump back into a pretty big project.

Boy Toy wanted a Messenger Bag big enough to hold all his man stuff for college, work and life. After some searching for the right style of bag, he was helpful enough to pick out the fabric he liked, as well as the webbing for the strap.

Here's the front of the bag. I have to admit, I wasn't so excited about working with this pattern of fabric but once I sewed the first seam I was in love with it. It's very forgiving and once I finished I was deep in love with it. I also didn't realize until after I started piecing everything together that this bag has an intended ragged look. The frayed edges and purposefully exposed interfacing made this a really easy sewing project.
When you open the top flap there are two pockets on the front of the bag. You can really see the interfacing edges here. I haven't put the snaps on the pocket flaps yet because I don't feel like they are strong enough to hold closed. I may go for black Velcro if I can't find a tougher snap to use and if Boy Toy approves.
I added in something Boy Toy asked for but that the pattern we settled on didn't account for. An open pocket on one side of the bag for soda, or water. I left the edges exposed like the rest of the bag and I'm pleased with how it turned out.
There's even a back pocket on the back of the messenger bag. I should have taken a picture of the inside but I forgot. This thing is enormous and Boy Toy has been using it the past couple of days and he's very pleased with how much it can hold. It looks really handsome on his shoulder too.
I was so excited to get a chance to sew again that I whipped up a nightgown out of an extra pillowcase for Evan Grace, that I'll post later this week and I even made her a quick bag for her Squinkes.

Now all I need to do is figure out which project to start on next and get on it. The sewing but has been activated.


Posted by Picasa