Here’s what you need:
- A large piece of cardboard (enough to draw a 22’’ diameter circle)
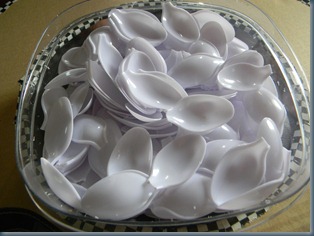
- 6 bags of CHEAP plastic spoons (white or clear ones)
- hot glue gun
- a bunch of glue sticks
- ruler
- string
- pencil
- Duct tape
- 1- 12x12 mirror (square or circular)
- 1 can of primer spray paint (I used Bull’s Eye)
- 1 can of your choice of color Rust-Oleum spray paint
Now you’ll need to draw/trace out a 22’’ circle on your cardboard.
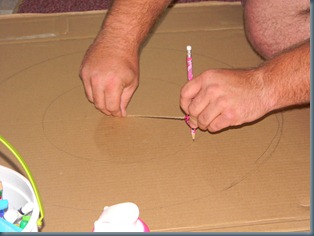
Tie an 11’’ string to your pencil, tape it down if you need too, with your scissors hold down the other end of the string where the middle of your circles will be.
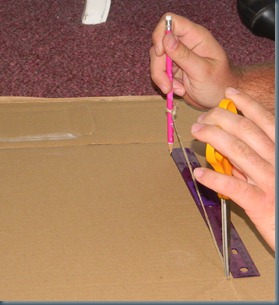
Nathan is making sure the string still measure’s 11’’ between the pencil and scissor end. SUPER IMPORTANT, hold the pencil and scissors STRAIGHT up and down as you move the pencil in a circular motion to draw out a circle. If you tile the pencil or scissors in you’ll end up with a crooked circle and the final project will be sad.
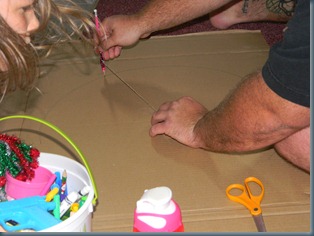
Evan Grace was crafting on the other half of the cardboard we had. See her wild hair and craft bucket the left of the screen. Such a silly.
Now, shorten your string to 6’’. Hold down the other end of the string with the scissors in the exact same spot you did for the 11’’ string and make another circle. You’ll end up with this:
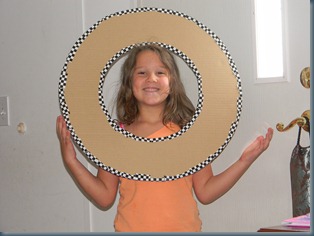
Use an Exacto knife or scissors if you have a pair strong enough and cut around both circles. Rip little pieces of duct tape off and tape around the inside and outside circle. All we had was the checkered flag kind. Make sure you get your youngest to model how great it looks when this step is done.
The not so fun part is next. Here you need to use some scotch tape and measure out how exactly you want your rows of spoons spaced out. We started on the inside of the circle and worked out way out. It seemed the easiest way in our heads at least. The width between the outside row of spoons ended up being almost a spoons width apart.
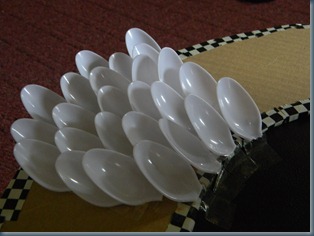
Remove the mock up rows and get your glue gun ready for a lot of action.
Start on the outside, work your way in. Take your time and keep moving the cardboard circle around as you work. Keep the spoons you are gluing down in front of you so that you can keep them straight. Glue the bottom of the bowls so that the spoon kind of sits up and forward. If you glue the deepest part of the bowl of the spoon your coverage area will suffer.
Row 1…
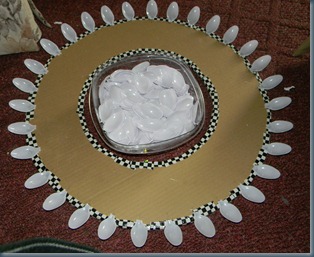
Row 2…
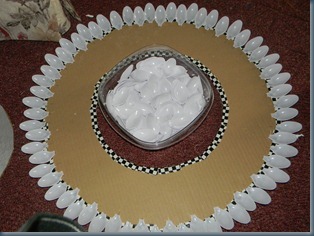
You get the idea. Keep going until you’re ready to glue on your last row/circle.
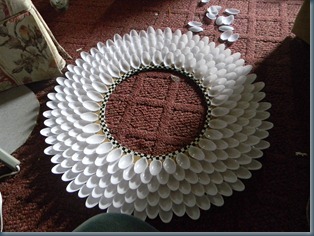
For the circle of spoons that are going to be closet to the mirror you want to take sand paper and sand down the cut part of the spoon so that you form nice oval shapes out of the rough ugly end. On e that’s done glue them on like all the other ones but let some of the end of the spoon hang off the cardboard edge towards the inside. Make sense?
Now you’re finished with the glue gun for now. See all those little glue hairs all over the place? Yeah, you’re going to have to get all of those off before you can move on. I took a small, stiff paint brush and went over the front and backs of each one. Ugh!
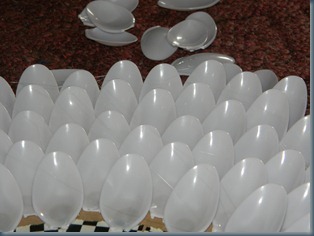
Now we prime the sucker. Front and back, in all the hard to reach places. Just everywhere. Follow the directions on the back of the can and use short sweeping sprays. Don’t drench the project.
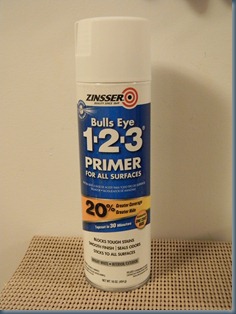
Here we are all primed up. I sprayed on two coats of this because it covered so well.
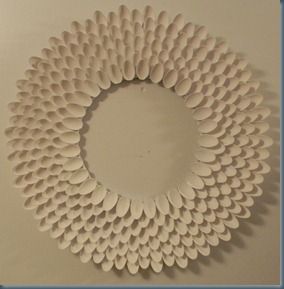
I let mine dry for a day or two…not really I had to work and had other things that took my attention off this project.
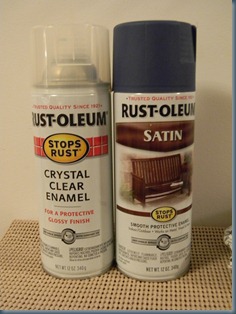
First color coat. (It’s really not this bright of a color. I was outside in the glaring sun and I think that messed up my picture.)
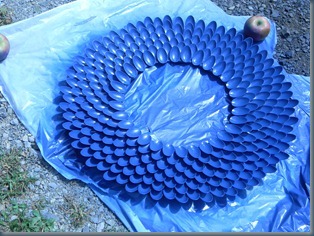
Second coat. Make sure you turn it over and spray the back, especially the inside and outside edges and backs of the spoons of the outer and inner edge.
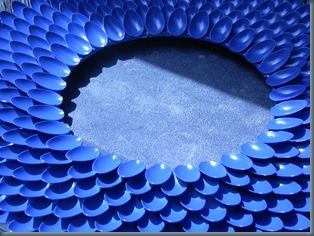
Once all of the layers you put on are dry give it 24 hours to really sit up.
The mirror I had was a mirrored tile. Lay it on flat surface with the mirror part up. Squeeze on a good amount of hot glue around the front edges and then careful place your spoon frame onto the mirror and hot glue. Press down gently and let the glue dry COMPLETLEY before you move it again.
You can use claw hangers or even a piece of twine and more hot glue (like I did) to make a hanger/loop for the back of the mirror for hanging.
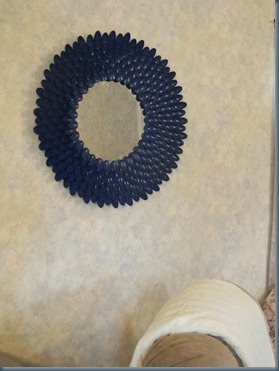
I’m in love with the project. I think I may make a few more smaller ones and hang them beside/around this large one.
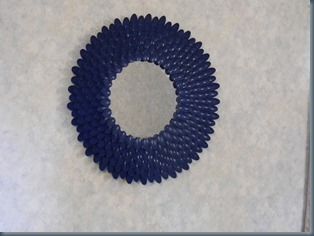
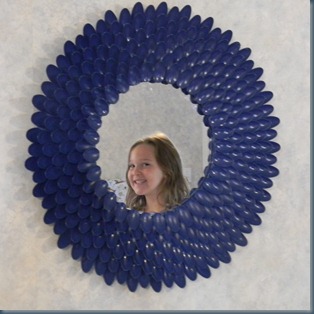
~Jess
