Sunday, December 16, 2012
Cozy Toes
If you still want the pattern and instructions you will have to email me from now on!!!!
Jessicamg@gmail.com
I'll try and respond to every request within 2 days.
You know the more I thought about it the more I realized that all I had to do was rewrite the instructions and take down the pictures. So that's what I did. I personally think mine are simplier to follow. So below Ms. March's letter are MY instructions for the Cozy Toes. If you'd rather have them in an email feel free to email me. I'm happy to help! Happy sewing.
http://www.instructables.com/id/DIY-Slippers/?ALLSTEPS Is another place for the information as well, pictures include. They are great instructions easier to understand than the ones in Sew News and even mine!!!!
Here's the silly email from Ms. March. I hope you all get a kick out of it like I did. :)
Hello Jessica,
It has come to my attention that back in December 2012, you began providing instructions to people for our Cozy Toes pattern tutorial. Then you posted the full instructions and even scanned the how-to images onto your blog for all to see. This is in direct violation of our copyright and I am asking that you remove this posting immediately. We own this content, and although you make no claim to it on your blog, you have not purchased the rights to it, as we have.
The pattern was posted on our site in conjunction with the print article in the magazine. In order to obtain the instructions, the article is needed. Even when the issue is out of print, the instructions are still available for an individual article reprint or a digital or print issue in its entirety can be purchased. The point is, we have all-rights to this pattern and the instructions in a legally binding contract.
I do understand the frustration of people posting comments about the pattern on our site. And I'm sure you can also understand that we are in the business of educating our readers as well as attracting new ones. How do you expect us to stay in business if all of our content is given away for free? We offer a lot of content for free as it is, including patterns, templates and instructions. But we must recoup the cost of rights from designers, sewers and writers.
I appreciate that you are one of our dedicated readers and were acting to help those in need. I'm excited that you're a member of our Sewing District, and an active member at that. But I must respectfully ask you to remove your posting.
Thank you kindly,
Ellen March
Warm, Cozy Toes Instructions (look I even changed the name just incase!)
SUPPLIES:
½ yard each of canvas
½ yard short faux fur (the longer furs are just going to cause you trouble)
14” square of double-sided fusible interfacing
Color coordinating thread the all purpose kind works great
Cross stitch thread or embroidery thread of matching or coordinating color
Needles
You'll need to download the pattern for the slipper.
After you print the pattern then find your shoe sizes and cut it. Place your foot on the pattern before you cut it to make sure you have the perfect fit. If you’re a 9 ½ like I am go ahead and cut the next size up. Rather to have them a little bigger than to tight.
Take your canvas fabric and cut 2 top pieces, 3 sole pieces and two sides. Then take your fur fabric and, cut 2 top pieces, 2 sole pieces and two sides. Cut only 2 top pieces and 2 sole pieces from your interfacing. Now you’re ready to sew.
Fuse your interfacing to the top 2 pieces of canvas and the 2 canvas sole pieces. Follow the instructions on the interfacing you purchased.
Now you’re going to pin the interface canvas top to the 2 fur top pieces. Sew with ¼ seam allowance. Turn it all right side out and fuse those two pieces together. Take that piece and fold it in half so you know where to start sewing your side pieces on. Mark the upper-edge of the canvas and the fur with a fabric marker or a stick pin.
Get out your side pieces. With right sides together and starting at where you marked your creased fabric match up the side edges with the front mark of the top pieces and pin. Do this on the other side as well. (If you need pictures of this just email me I‘m happy to provide them. Jessicamg@gmail.com Sew around the edges and iron. Now do the same thing with the side backs (right sides together) and sew it up.
Turn the shoe right sides out, which means the fur will be on the inside and the canvas on the outside. It will look like a slipper now but without the bottom. Trust me.
If everything looks right so far and you‘re still with me turn your slipper where the fur is on the outside. Right sides together, pin the sole piece outer edge with the furry side lower edge and sew together. You can surge or zigzag this seam so that it‘s stronger if you like. Now you can once again turn your slippers right side out and iron them nicely.
If you want to add a whipstitch to the outer seams along the top and side of the slippers it creates a really cute look. Though it‘s not a necessary step it's a nice detail..
Repeat all the above steps for the other slipper. Before you slip them on though you need to make the insoles. You should have 1 canvas sole piece and 1 fur sole piece left. Just stitch them right sides together, leave a space for turning them right side out, iron them and then top stitch the edge so they are really secure and lay flat. Slip them into your slippers and you’re ready to put these bad boys on.
I’m more than happy to send these instructions in a PDF for anyone interested. Just shot me an email. I’ll try my best to respond within 2 days of receiving your email. J
Thursday, October 11, 2012
Blossom Purse
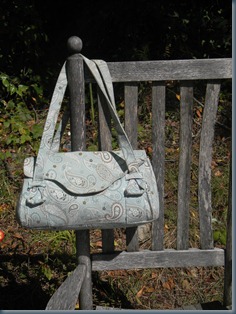
Not only was it my first ever advanced sewing project but it’s my favorite sewing project I’ve done to date. I am absolutely in LOVE with this purse!!!!
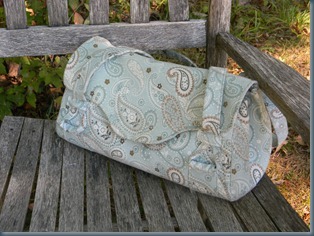
Check out the inside. A zippered pocket in the back and an open pocket in the front; all with a snap closure. Eeeekkk!!!
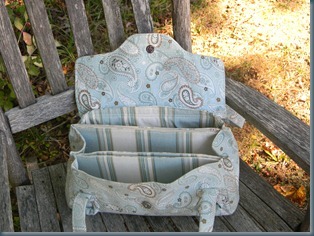
It’s an Amy Butler pattern, a FREE Amy Butler pattern. We all know how much I want to be her when I grow up.
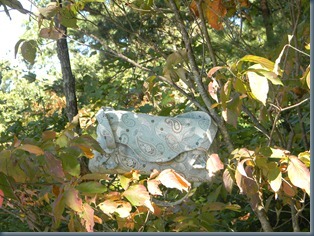
Be forewarned, this project, whew, did it take a lot of time. It took 4 hours just to cut out all the fabric and have it pressed and in order. It’s a butt kicker for sure.
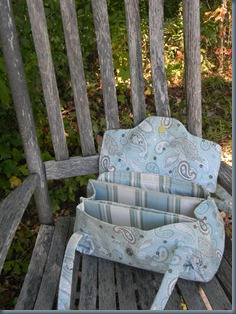
It’s so worth it though.
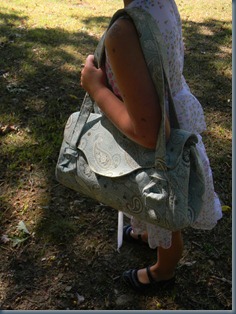
Happy Sewing!
~Jess
Saturday, September 1, 2012
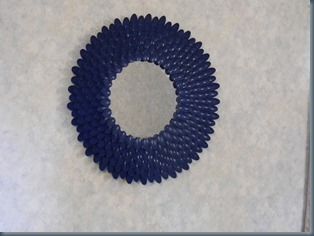
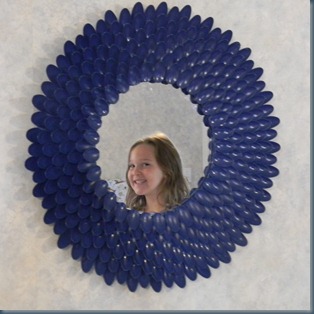
Plastic Spoon Mirror!
Here’s what you need:
- A large piece of cardboard (enough to draw a 22’’ diameter circle)
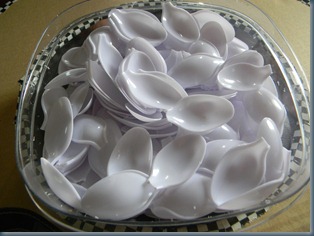
- 6 bags of CHEAP plastic spoons (white or clear ones)
- hot glue gun
- a bunch of glue sticks
- ruler
- string
- pencil
- Duct tape
- 1- 12x12 mirror (square or circular)
- 1 can of primer spray paint (I used Bull’s Eye)
- 1 can of your choice of color Rust-Oleum spray paint
Now you’ll need to draw/trace out a 22’’ circle on your cardboard.
Tie an 11’’ string to your pencil, tape it down if you need too, with your scissors hold down the other end of the string where the middle of your circles will be.
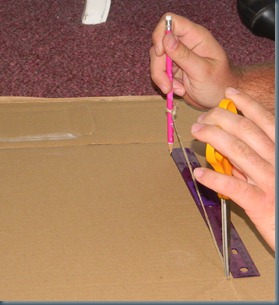
Nathan is making sure the string still measure’s 11’’ between the pencil and scissor end. SUPER IMPORTANT, hold the pencil and scissors STRAIGHT up and down as you move the pencil in a circular motion to draw out a circle. If you tile the pencil or scissors in you’ll end up with a crooked circle and the final project will be sad.
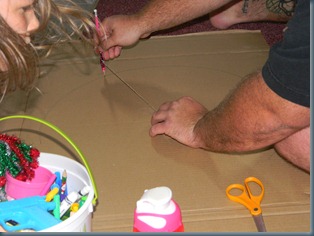
Evan Grace was crafting on the other half of the cardboard we had. See her wild hair and craft bucket the left of the screen. Such a silly.
Now, shorten your string to 6’’. Hold down the other end of the string with the scissors in the exact same spot you did for the 11’’ string and make another circle. You’ll end up with this:
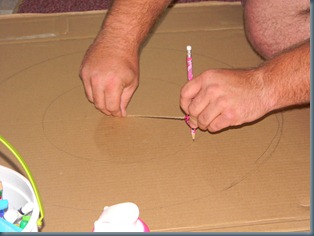
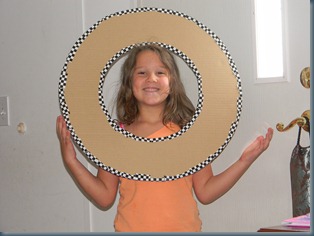
Use an Exacto knife or scissors if you have a pair strong enough and cut around both circles. Rip little pieces of duct tape off and tape around the inside and outside circle. All we had was the checkered flag kind. Make sure you get your youngest to model how great it looks when this step is done.
The not so fun part is next. Here you need to use some scotch tape and measure out how exactly you want your rows of spoons spaced out. We started on the inside of the circle and worked out way out. It seemed the easiest way in our heads at least. The width between the outside row of spoons ended up being almost a spoons width apart.
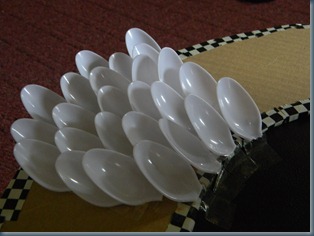
Remove the mock up rows and get your glue gun ready for a lot of action.
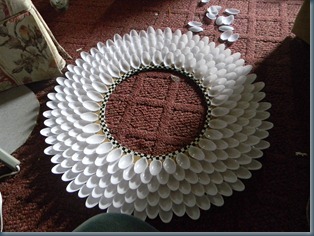
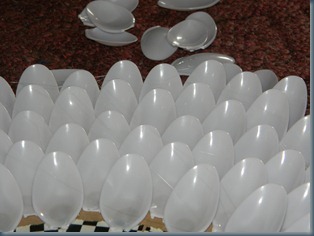
Start on the outside, work your way in. Take your time and keep moving the cardboard circle around as you work. Keep the spoons you are gluing down in front of you so that you can keep them straight. Glue the bottom of the bowls so that the spoon kind of sits up and forward. If you glue the deepest part of the bowl of the spoon your coverage area will suffer.
Row 1…
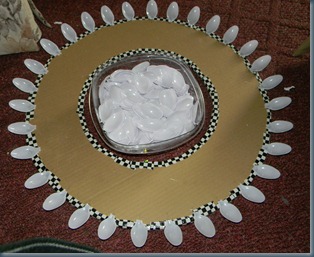
Row 2…
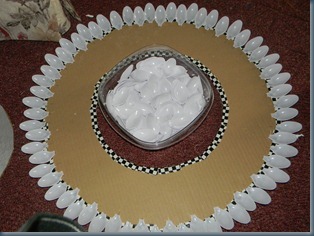
You get the idea. Keep going until you’re ready to glue on your last row/circle.
For the circle of spoons that are going to be closet to the mirror you want to take sand paper and sand down the cut part of the spoon so that you form nice oval shapes out of the rough ugly end. On e that’s done glue them on like all the other ones but let some of the end of the spoon hang off the cardboard edge towards the inside. Make sense?
Now you’re finished with the glue gun for now. See all those little glue hairs all over the place? Yeah, you’re going to have to get all of those off before you can move on. I took a small, stiff paint brush and went over the front and backs of each one. Ugh!
Now we prime the sucker. Front and back, in all the hard to reach places. Just everywhere. Follow the directions on the back of the can and use short sweeping sprays. Don’t drench the project.
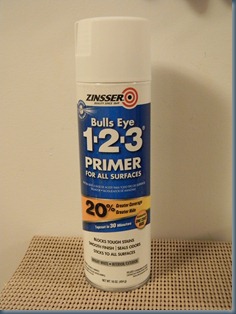
Here we are all primed up. I sprayed on two coats of this because it covered so well.
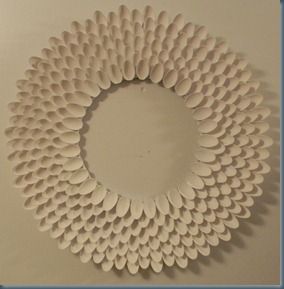
I let mine dry for a day or two…not really I had to work and had other things that took my attention off this project.
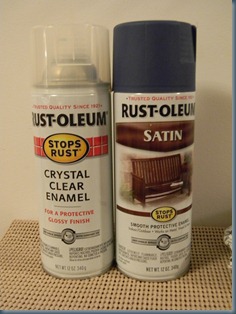
First color coat. (It’s really not this bright of a color. I was outside in the glaring sun and I think that messed up my picture.)
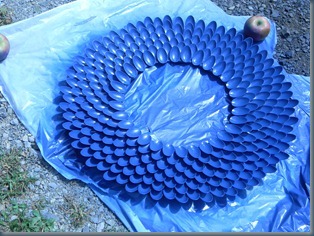
Second coat. Make sure you turn it over and spray the back, especially the inside and outside edges and backs of the spoons of the outer and inner edge.
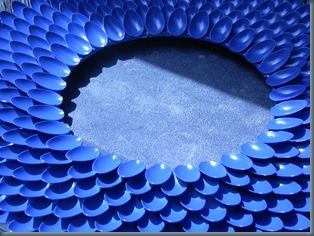
Once all of the layers you put on are dry give it 24 hours to really sit up.
The mirror I had was a mirrored tile. Lay it on flat surface with the mirror part up. Squeeze on a good amount of hot glue around the front edges and then careful place your spoon frame onto the mirror and hot glue. Press down gently and let the glue dry COMPLETLEY before you move it again.
You can use claw hangers or even a piece of twine and more hot glue (like I did) to make a hanger/loop for the back of the mirror for hanging.
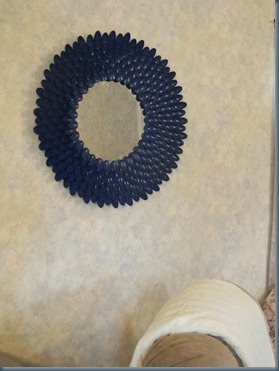
I’m in love with the project. I think I may make a few more smaller ones and hang them beside/around this large one.
~Jess
Tuesday, August 21, 2012
Sweet Pepper Relish
Sweet Pepper Relish12-sweet bell peppers, (green, red, yellow, black)
1 TBSP salt
1 1/2 cups vinegar
4 medium onions
1 1/2 cups sugar
1 TBSP mustard seed
Cut peppers in half, take out the core and white parts and seeds.
Quarter onions.
Grind the green peppers & onions (save the juice) I had a small chopper/blender thing I used in batches.
Place in a large pot with the remaining ingredients and bring to a boil.
Let this boil 30 minutes.
Pack into sterilized jars & seal with the lid and rim immediately.
Place in a hot water bath for 10 minutes.
Remove from the bath and allow to cool completely on a wire rack.
No kidding, it's incredible!

Thursday, July 19, 2012
Wednesday, July 18, 2012
I have been sewing! I promise!
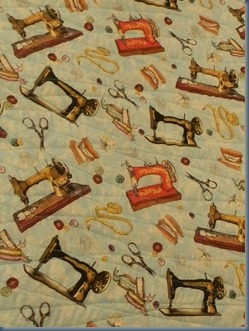
A few months ago I found the greatest sewing fabric every! (Without all the sewing lines, I did those)
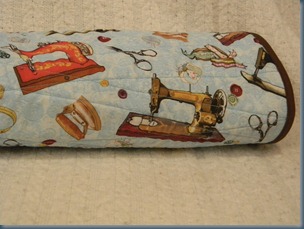
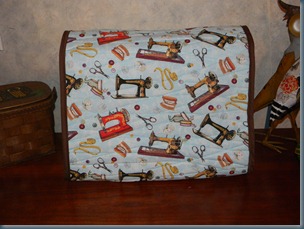
What better to make than a sewing machine cover for Contessa with sewing machine fabric right? I measure from bottom front of my machine to over the top of it to the bottom back of my machine and added an inch. I measured from side to side as well and added an inch for my measurements. I quilted it with batting between the fabric and did the V stitch all over until I was satisfied with how it looked.
Then I used binding around all of the rough edges and called it done.
Doesn’t she look so cozy under her new cover? This was one of my most favorite projects to do. I’m not sure why…maybe it’s because I made something for Contessa, my favorite machine ever!
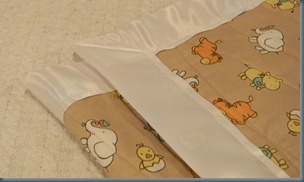
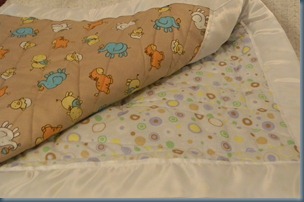
I also quilted my first ever baby blanket. I’ve made other baby blankets before where I just slapped fabric together and edge the two together. Now though I actually quilted the baby blanket like I did Contessa’s cover above and then used blanket binding. I’m really really happy with how it turned out.
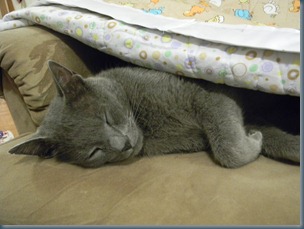
I think Murphy likes it too.
Now….who to give it to? If it stays in the house Evan Grace is sure to claim it as her own!
~Jess
Monday, July 16, 2012
Tea Party
I didn’t come up with the menu. Remember that.
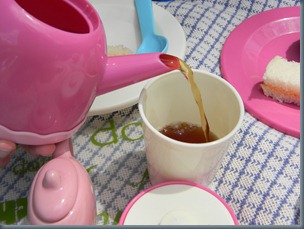
Warm sweet tea.
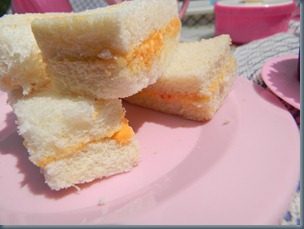
Pimento Cheese sandwiches.
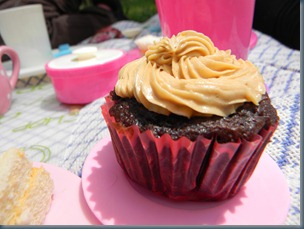
Peanut Butter Chocolate cupcakes. (The real reason for this post)
This peanut butter icing is fantastic.
1 cup confectioners’ sugar
1 cup creamy peanut butter
5 tablespoons butter, at room temperature
¾ teaspoon vanilla extract
¼ teaspoon kosher salt
1/3 cup heavy cream
Mix confectioners’ sugar, peanut butter, butter, vanilla and salt in the bowl (with a paddle attachment if you have one, I don’t so the egg beaters worked just fine) Mix until creamy and smooth. Add in the cream and beat on high speed until the mixture is light and smooth.
It’s that quick and simple. This goes great on any type of chocolate cupcake or the tip of your finger. Yum.


