Wednesday, November 30, 2011

MIA

I’ve been MIA for awhile now, please forgive me. I’ve not been sewing or crafting or much of anything really but keeping up with day to day life.

I started a new job, part time only but it’s fun, and interesting and kicking my butt all at the same time.

I’m still homeschooling the two little kids but with the new job we’ve had to increase the amount of work we normally do and even started homeschooling on Saturdays. Bummer for me, not so much for the kids.

Football season for Isaac is officially over. The Packers won every single game, as well as the Super bowl. That was a crazy intense game. It was tied up 6-6 until the last 5 seconds of the 4th quarter (I kid you not) when one of our guys broke free of the line and ran and ran and ran for the winning touchdown.

DSCN2848

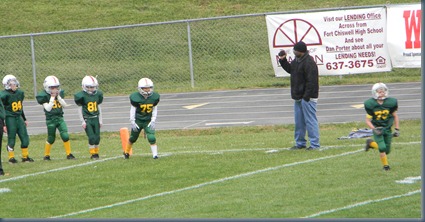
Here’s a great picture of Isaac getting ready to run across the field as his name is being called!!!!!!

DSCN2854

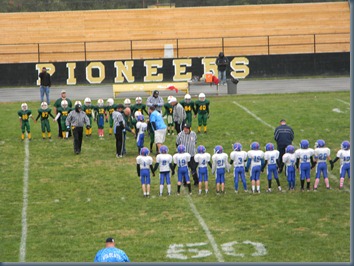
Both teams lining up for the coin toss. I love how the Packers are holding hands….just like a true team.

But enough about football right? Mackenzie completed her fall season of cheer for the JV football team and is now practicing for Winter season. Basketball…ugh, there’s not a sport I could hate more than basketball but I’ll be there cheering her as she cheers on the team.

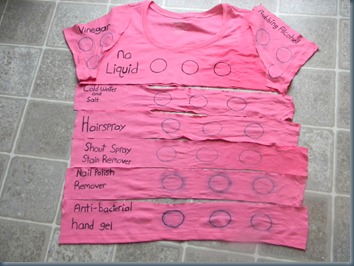
She’s one of the main reasons I haven’t been crafting or sewing lately. She had a science fair project she needed some help on.

DSCN2925

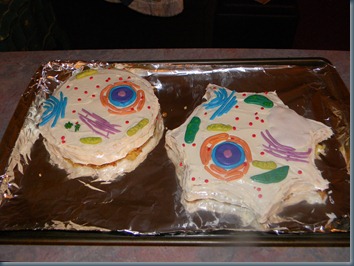
That one was due on a Monday, then she had another science project due the next day. Two cakes, decorated to look like the inside of a plant cell and animal cell. Props to Aunt Vanessa for helping on that one so I could recover from the Science Fair.

DSCN2929

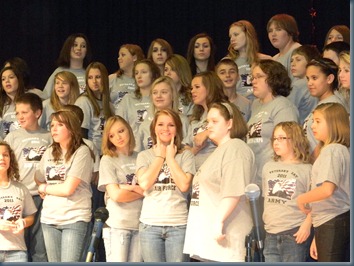
Then there was the Veterans Day concert. Ohhhh my goodness, it was soooo good. The program was fantastic and I was soooo very proud of Mackenzie and the rest of the choir. As soon as I relearn how to post a video on my blog I’m going to post her solo in We Are the World!!!!

DSCN2886

DSCN2888

Mackenzie is in the very back row, third from the left. See the girl in the front pointing at her smile? That’s Mackenzie’s BFF Hannah. She’s a goof!

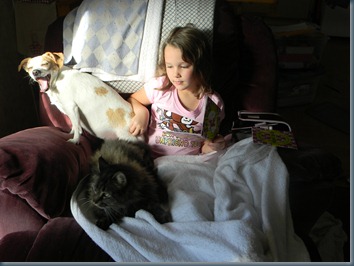
As for Evan Grace, she’s actually learning to really, truly read but she’s more interested in math (go figure). And as always she’s busy all the time. For example, she’s busy reading to the pets (Daisy looks really entertained doesn’t she?)

DSCN2873

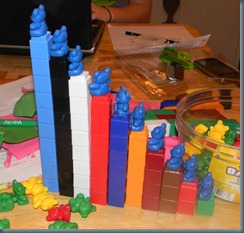
and busy building steps for her bears…

DSCN2910

and busy just being all around cute!

DSCN2823

Consider yourself updated and I’ll consider myself a bad blogger whose going to try and do better about keeping up this time.  Smile


~Jess
Monday, November 28, 2011

Paper Bag Turkey!

Yes you really are going to bake a turkey in a paper bag without setting your house, (or the turkey) on fire.

You’ll need a 15-18lb turkey, completely thawed and de-gibleted….no it’s not a word but it would be so cool if it were!

1 celery stalk

1 large carrot (cleaned and rough cut)

1 large onion, quartered

4-5 clovers of garlic, smashed under a knife.

DSCN2934

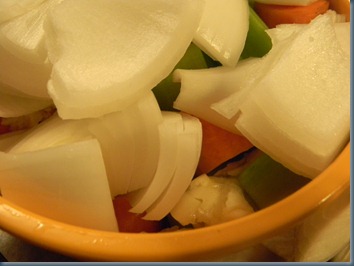
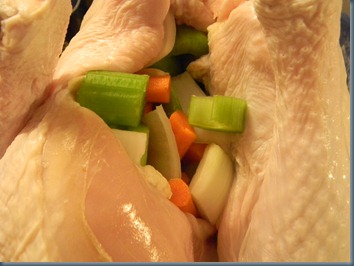
Stuff all of the veggies and garlic into the turkey.

DSCN2935

Now rub your turkey down with olive oil. I didn’t snap a picture of this step because honestly, my hands were covered in oil!!!

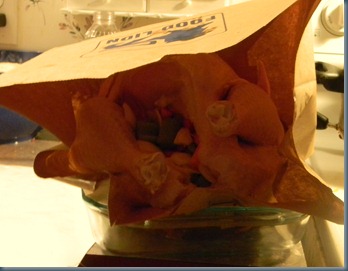
Take a large paper bag, open it up wide. Yell at Boy Toy to come help you if you need an extra pair of hands.  Place the stuffed, oiled turkey into the brown paper bag and set it down into your basting pan.

DSCN2937

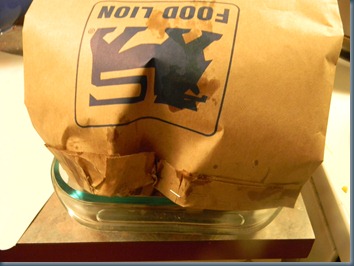
Fold the ends over and staple together. If your bag isn’t big enough use two bags and staple them together.

DSCN2938

Sprinkle water over the bag until it’s wet but not soaking.

DSCN2939

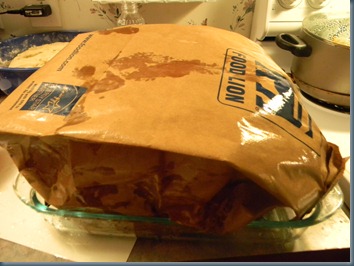
Slip this bird into a 375 degree preheated oven and set it to cook 15 min for each pound.

You can check to see if the turkey is done by inserting a meat thermometer and making sure it reads between 163-170 before you call it done. Or if yours was like mine you wait for the little red button thing to pop out. Smile

DSCN2940

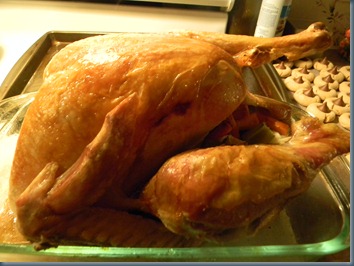
Now you tell me, isn’t that a beautiful turkey? All roasted up instead of steamed and ohhhh so juicy!

If you’re wondering why the bag doesn’t catch fire, paper burns at 415 degrees and since we’re baking well enough below that the oven should never get hot enough to catch the paper bag on fire.

Throw away all the veggies you stuffed in the bird and get carving!


Happy Holiday!

~Jess
Thursday, September 15, 2011

Lasagna Rollups.

I made this awhile back and it quickly became one of our family’s favorite recipes.

Start by cooking your lasagna noodles al dente (rinse in cold water once they are finished cooking) and browning 1 lb of hamburger, drain.

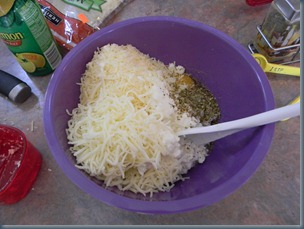
While those are cooking mix together the following in a medium sized bowl:

2 cup ricotta cheese

1/2 cup cottage cheese

1 egg

1 cup Parmesan cheese

1 cup mozzarella cheese, divided

3/4 tsp salt

1/8 tsp cracked pepper

1 tsp parsley, dried

3/4 tsp oregano, dried

1 t lemon juice

1 lb browned hamburger (if you don’t want to use meat you can sub in 5 cups of finely chopped spinach.

DSCN1808

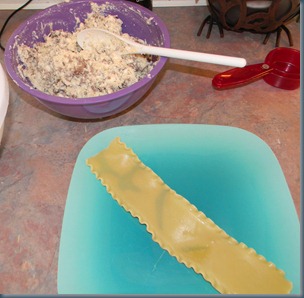
Take one noodle at a time and lay it flat on a plate.

DSCN1811

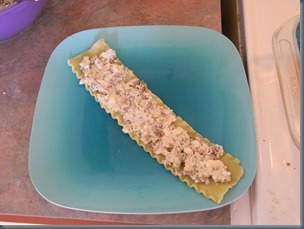
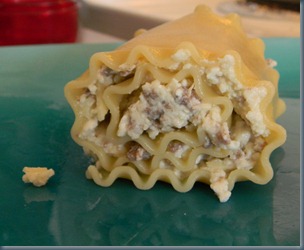
Spoon a good amount of meat and cheese filling onto the noodle.

DSCN1813

Start at one end and roll the noodle into a tight bundle.

DSCN1814

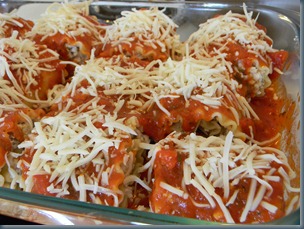
Once all your noodles are all rolled up, take a 9 x 13’’ pan and pour 1 cup of spaghetti sauce into the bottom of it. Place all your lasagna rolls in the sauce, seam side down.

Top the rolls with the rest of your spaghetti sauce and 1 cup of mozzarella. Cover with foil and back 45 minutes at 350 degrees.

DSCN1818

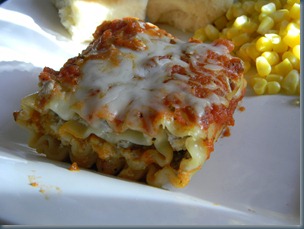
These helped eliminate the mess of cutting and serving up unrolled lasagna and the ingredients you can roll into the noodle are endless!

DSCN1820

~Jess
Wednesday, September 14, 2011

Tuesday, September 13, 2011

Homemade Chicken Nuggets with Sweet & Sour Sauce.

If you’re looking for a quick and easy go to meal that everyone in the house will eat…keep clicking. This is not the recipe for you. It is however a fantastically great recipe and easy, it just takes a little longer than other meals.
DSCN1884
Cut  3-4 chicken breasts into bite-sized chunks. Set aside.
In a bowl, mix together:
1 cup flour
1/2 cup cornstarch
1 tsp baking soda
2 tsp baking powder
1 tsp salt.
Then whisk in 1 1/2 cup cold water and stir until all lumps are gone.

Dump in your chicken and stir until all the pieces are coated well.
In a deep skillet or fry daddy whichever you have heat enough oil to fry the nuggets in to about 375 degrees.

The amount of pieces you can fry at one time is totally dependent upon the size of your skillet. If it’s large you should be able to cook 8-10 pieces without them sticking together or cooling down the oil too much. If it’s smaller then maybe 5-6.  Just make sure you get a nice golden brown all over the breading.

While you’re frying those up in a small saucepan bring the following ingredients to a boil:
1/3 cup white vinegar
1/3 cup sugar
1 TBS soy sauce or Teriyaki sauce (we like it better with Teriyaki)
3 TBS ketchup
1/2 tsp garlic powder.


Simmer for 10 minutes and then remove from heat. The sauce will thicken up as it stands and cools a bit.

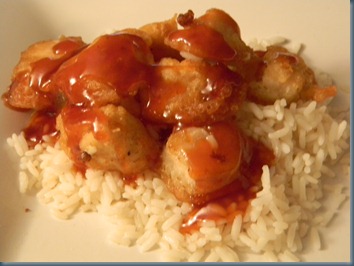
I liked mine pilled on top of rice (since I rarely eat rice) but the kids were popping these things as soon as they were coming out of the fryer.

Homemade Chicken Nuggets with Sweet & Sour Sauce….done!!!!

~Jess
Monday, September 12, 2011

String Scarf.

Would you believe in all my fabric stashes that I don’t have ANY green or yellow fabric AT ALL? I don’t wear yellow but  Isaac playing football for the Packers I had to have something green and yellow for all his football games.
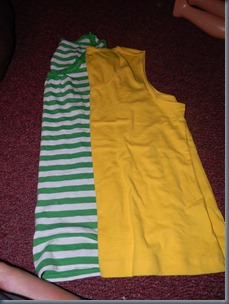
Since I didn’t have a trip to a fabric store planned I was pleasantly surprised to find 2 tank tops at a sore for $4 each.
DSCN2745
I had a scarf idea in mind, that way no matter what else I wore to Isaac’s games I’d still be wearing team colors.
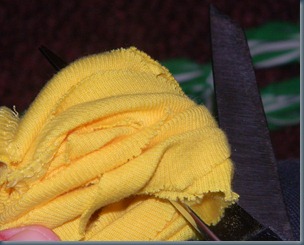
I laid out the green and white tank top out flat and cut from left to right, 1’’ strips all the way up to the top of the shirt. Here’s a picture of the first strip cut.
DSCN2746
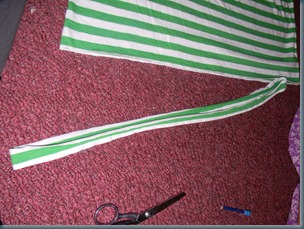
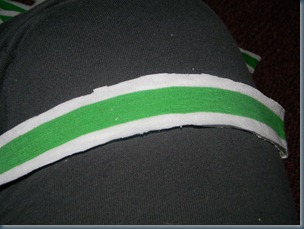
Once you’ve cut out all your strips take one at a time and stretch them out until they roll inwards.
Here’s a picture of what the strip is before you stretch it: (The 2 pieces are laying on top of each other)
DSCN2749
Now here’s what it looks like once you’ve stretched it just a little bit:
DSCN2750
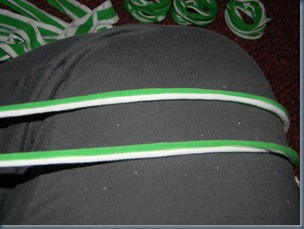
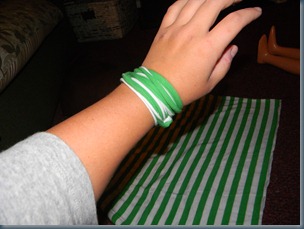
Neat huh? NOW, wrap this rolled fabric around your wrist like you would an extra long necklace that you wanted to wear as a bracelet. You can wrap it just a few times or you can wrap it until you can’t possibly go over your hand anymore.
DSCN2748
I went for completely wrapped. This will make for a fuller scarf in the end. If you wrap fewer times and make bigger loops then you’ll end up with a longer scarf but not as puffy.
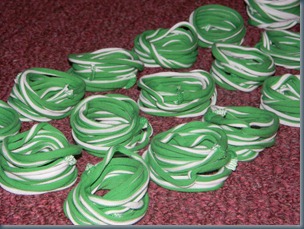
Once you’ve got it wrapped around your wrist, carefully take it off your arm and lay it aside while keeping it’s circular shape.
DSCN2754
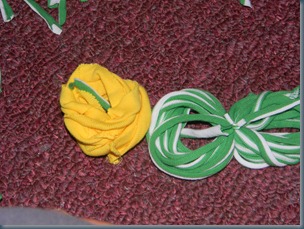
I wanted yellow on the end of my scarf so that’s why the next step shows a yellow circle as well as the green and white one. Just fyi.  Now cut thin strips from the green and white shirt or another color of fabric you have if you want that fun look. You’re going to tie 2 stacks of circles together, side by side.
Step one, lay two circles beside each other. Thread your thin strip in and under one circle and up and through the other one beside it.
DSCN2755
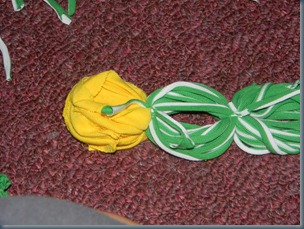
Tie like you would for the first step in tying your shoe strings.
DSCN2756
Double knot it and then clip the long ends down close to the knot.
Continue on tying the side of the next circle to the other side until you’ve used all your circles or your scarf is as long as you desire.
If you want little fringe things like I did on the bottom of mine then simply slide your scissors  to the end of the circle opposite where you tied your double knot and cut all the way through.
DSCN2757
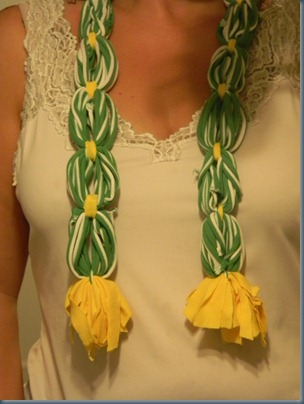
Cute and fun and ready for the next Packers football game!!!!!!
DSCN2799
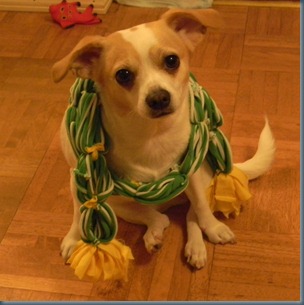
Daisy gives it her stamp of approval too!
DSCN2793
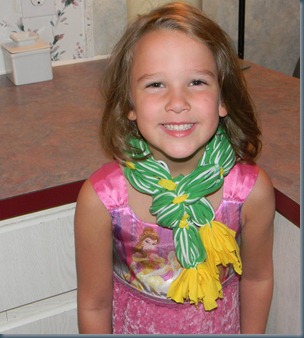
Did you really think I was going to be able to make something, take pictures of it and Evan Grace NOT get in on it? Winking smile
DSCN2804
If you notice in the pictures I went back over the parts that I tied with yellow fabric strips  to help bring in more yellow. What a fun scarf!!!!

~Jess


Thursday, September 8, 2011

No title.


I'm exhausted. SOOOOOO exhausted and the next few weeks are only going to get more and more crazy for us. I wish I could be like my sister's cat above and curl up for a nap a few times a day. Isn't Cat Face a cutie????

I have plans to sew more, of course I do. I always have plans to sew more. I've just lost my creative spunk or the drive to actually pull out fabric and start cutting and sewing. I have a list of projects I want to do, a long, long list. But Contessa just sits on her sewing desk looking at me like she doesn't know me anymore. :/

Posted by Picasa

Monday, September 5, 2011

Pie Plate Cheesecake.


1 graham cracker crust about 9'' round. You can make it yourself or just buy one like I did to say a little time.

2 - 8oz of cream cheese, softened
2 eggs
3/4 cup sugar
2 tsp vanilla.

Mix cream cheese and sugar together until smooth. Then add eggs, one at a time then the vanilla. Spread into a the pie crust.
Bake 30 minutes at 350 or until the edges are set and there's a little jiggly left in the middle.

While that's cooking mix together:
1 cup of sour cream
2 TBS sugar
1 tsp vanilla.

Once the cheesecake is out of the oven let it cool for a few minutes before spreading on the sour cream mixture.

I sliced up some strawberries, dump them in a bowl with some sugar over them, mixed well and then added them on top. Truly the best cheesecake I have ever made and I have to give all credit to Mennonite Girls Can Cook blog. If you haven't checked out their recipes you should everyone I have ever made is simply amazing!!!!

Best Cheesecake Ever.....done!


Posted by Picasa