Thursday, August 12, 2010

Zebra Cupcakes with Peanut Butter Cream Cheese Frosting.


Honestly these cupcakes are just as good as the name makes them sound.
Start with a vanilla cake mix of your choice, be it from scratch or from the market. Make it as directed on the back of the box.  pour half of the batter into another bowl. Set one bowl of cake batter aside.   

Then mash up 2 very ripe bananas in a separate bowl, which may remind you of making your little ones homemade baby food...which may then make you sad that you don't have babies young enough to make baby food for, which may in return have you thinking of having another baby....or maybe not...maybe that's just me. :) Add these mashed bananas to one bowl of cake batter and mix well.
To the other bowl of cake batter add 1/2 cup cocoa and 2 TBS of water and mix well.
Now you have 2 bowls of cake batter, one chocolate flavored the other banana flavored.
Then with 1 TBS or a little more at a time start filling your cupcake liners with the chocolate batter.

Then 1 TBS at a time add in the banana batter on top of the chocolate then back to the chocolate and then banana, so forth and so on until the liners are 2/3rds full.

Then bake them as directed on the back of the cake box.


Now for the frosting...the best part in my opinion.
Cream together 1 (8oz) block of cream cheese, softened
2 TBS of butter,
and 1/2 cup of peanut butter until smooth.

Add in a splash of vanilla, 1/8 tsp of salt. Then slowly add in 2-3 cups of powdered sugar. Frost and try not to eat them all at once.


Posted by Picasa

Wednesday, August 11, 2010

Tuesday, August 10, 2010

Slow Cooker Creamy Corn

I love corn. I adore it really. I would eat it everyday with every meal...well maybe not breakfast but maybe brunch. It's the best grain in the world and I have yet to meet a corn dish that I didn't like. Now that I have a slow cooker recipe for creamy corn...life just got sweeter.

32 oz of frozen corn, dumped into your slower cooker.
2 (8oz) of cream cheese just placed on top of the corn. (I used one Fat Free block and the other block was Fat FULL)
Then you sprinkle on 2 TBS of sugar.
Next pour on 2 TBS of water.
Lastly take 4 slices of American cheese and crumble on top of everything.
Cover and set your cooker on low and let this cook beautiful for 6 hours, or a little less depending on how fast your cooker cooks.

Once everything is all cooked and melted, stir and serve.
In all honesty I think this dish should be called Cream Cheese with Corn.
It's so rich and creamy and so very perfect.

Posted by Picasa

Monday, August 9, 2010

Personalized Coasters.


It's been forever since I've cross stitched and I miss it. When I came across some personalized coasters in one of my sewing books I decided to stitch the personalized part instead of using stamps or embroidery. It took all of 5 minutes to cut the strips of adida cloth and stitch all of the kids names and 'mom' for me for the coasters.

I cut some really cute fabric that I picked up for $1 a yard a few weeks back into 5 1/2 inch squares. 2 pieces for the front and back of each as well as a 5 1/2 inch square of interfacing for the middle.

I pinned the name tags into place on the front piece of each coaster then stitched left to right on the top and bottom of the adida cloth to hold the name tag in place.
Then it was as simple as placing right sides together with the front and back piece of fabric, with the interfacing on the wrong side of one of the pieces then sewing all the way around. I left a 2 inch opening to turn these right side out which was tough to do. The adida fabric is stiff so if you try these out you might want to leave a bigger opening for turning.
After turning right side out I top stitched around the outer edges of each coaster, making sure to turn the opening inside for a finished looked. You could easily make the corners on these coasters square instead of round like I did by not curving around the edges. I tend to like the curve look better.

These were so quick and easy I finished my set for the house and immediately started looking for fabric in my stash that would match my mom's decor. Then I whipped out one for her and my dad. Super cute and super easy. Wouldn't these make lovely Christmas gifts for family and friends?


Posted by Picasa

Friday, August 6, 2010

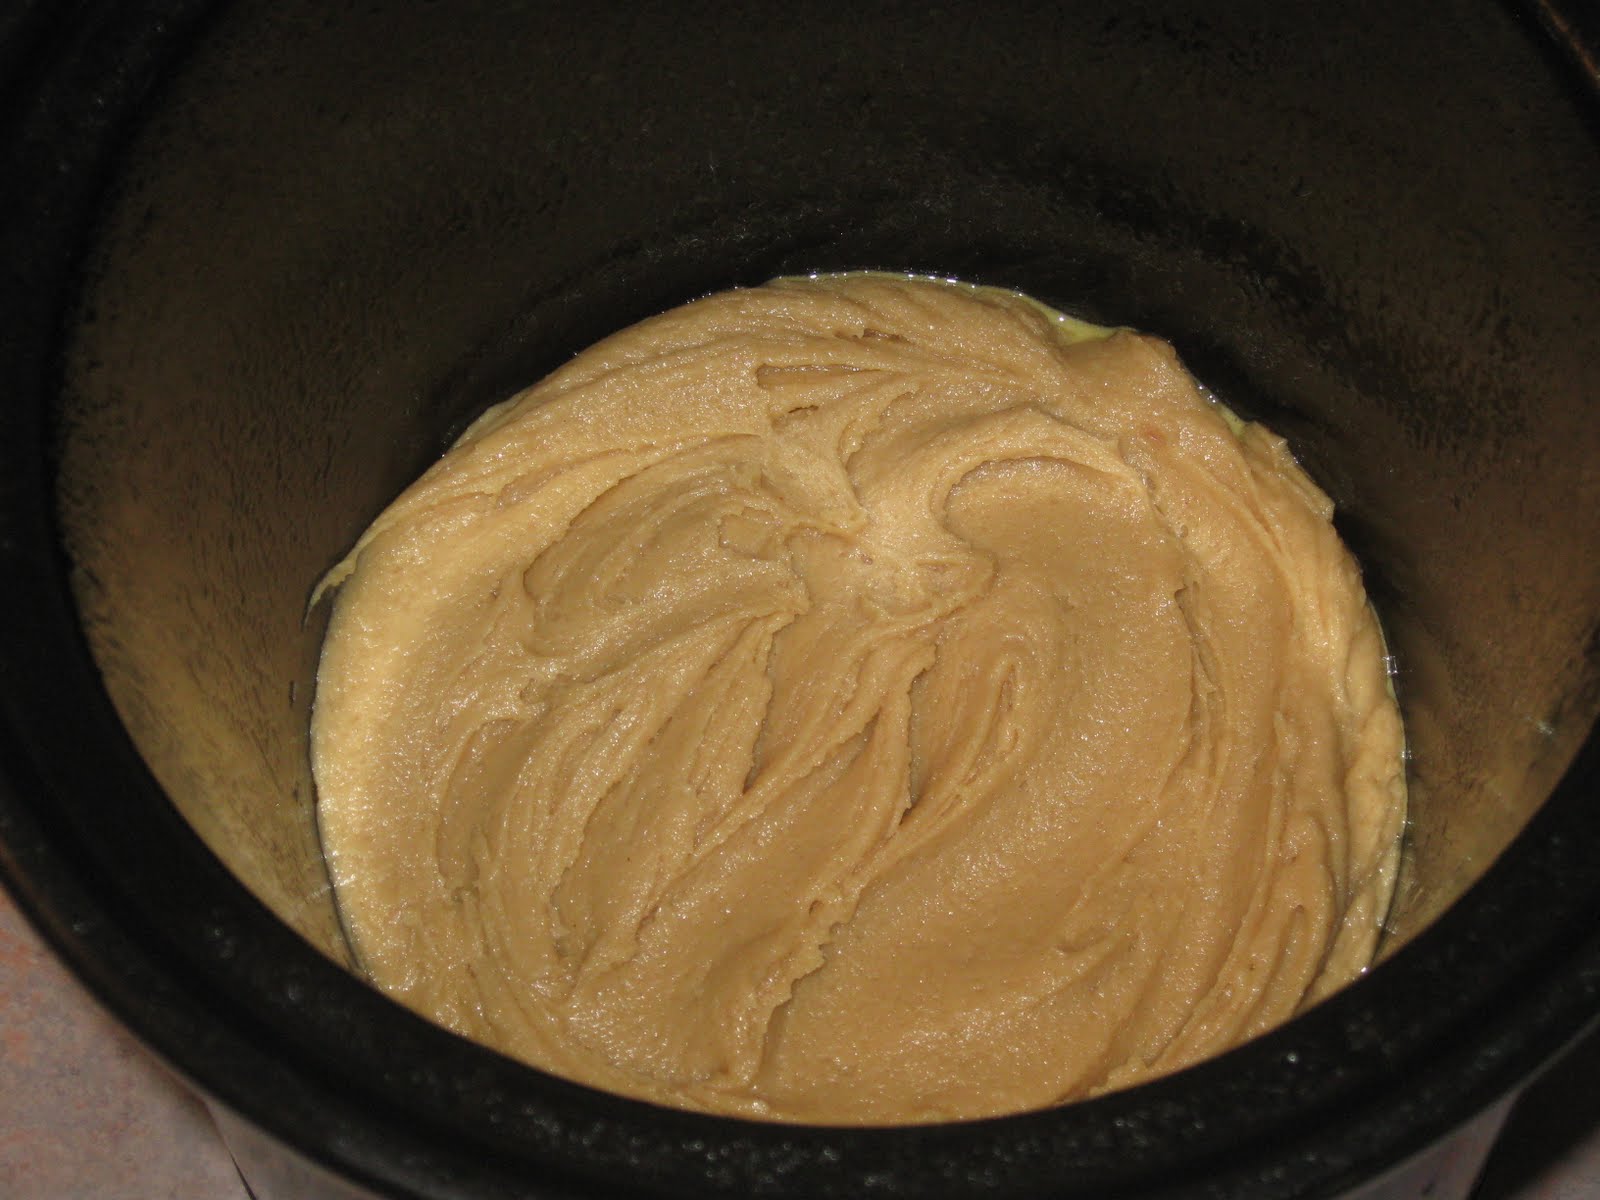
Slow Cooker Peanut Butter Cake


Slow Cooker Peanut Butter Cake

1 cup all-purpose flour
1 cup sugar (divided!)
1 teaspoon baking powder
1/2 teaspoon kosher salt
1/2 cup creamy peanut butter (you can use chunky if you prefer)
1/2 cup milk
1 tablespoon canola oil
1 teaspoon vanilla extract
3 tablespoons unsweetened cocoa powder
1 cup boiling water


Use a 4-quart slow cooker coated well with cooking spray.

In a mixing bowl, combine flour, 1/2 cup sugar, baking powder and salt.

In the microwave, melt peanut butter for about 30 seconds, and then add to the mix along with milk, oil, and vanilla. Stir really well to combine.


Spread this mixture into the bottom of your slow cooker.

In a separate bowl, mix together cocoa powder, the remaining 1/2 cup of sugar, and 1 cup boiling water.


 Pour this evenly over the peanut butter batter in your cooker.


Cover and cook on high for 2-4 hours, or until the top has set and an inserted toothpick Let the cake sit uncovered in an unplugged slow cooker for about 20 minutes, then serve warm in dessert bowls.

The chocolate really made this dessert work. I think the next time I try this recipe I'm going to cut back on the flour and add a touch more peanut butter, the cake just seemed a little heavy. Over all very tasty and worth making again.


Posted by Picasa

Thursday, August 5, 2010

My Poor Daisy.

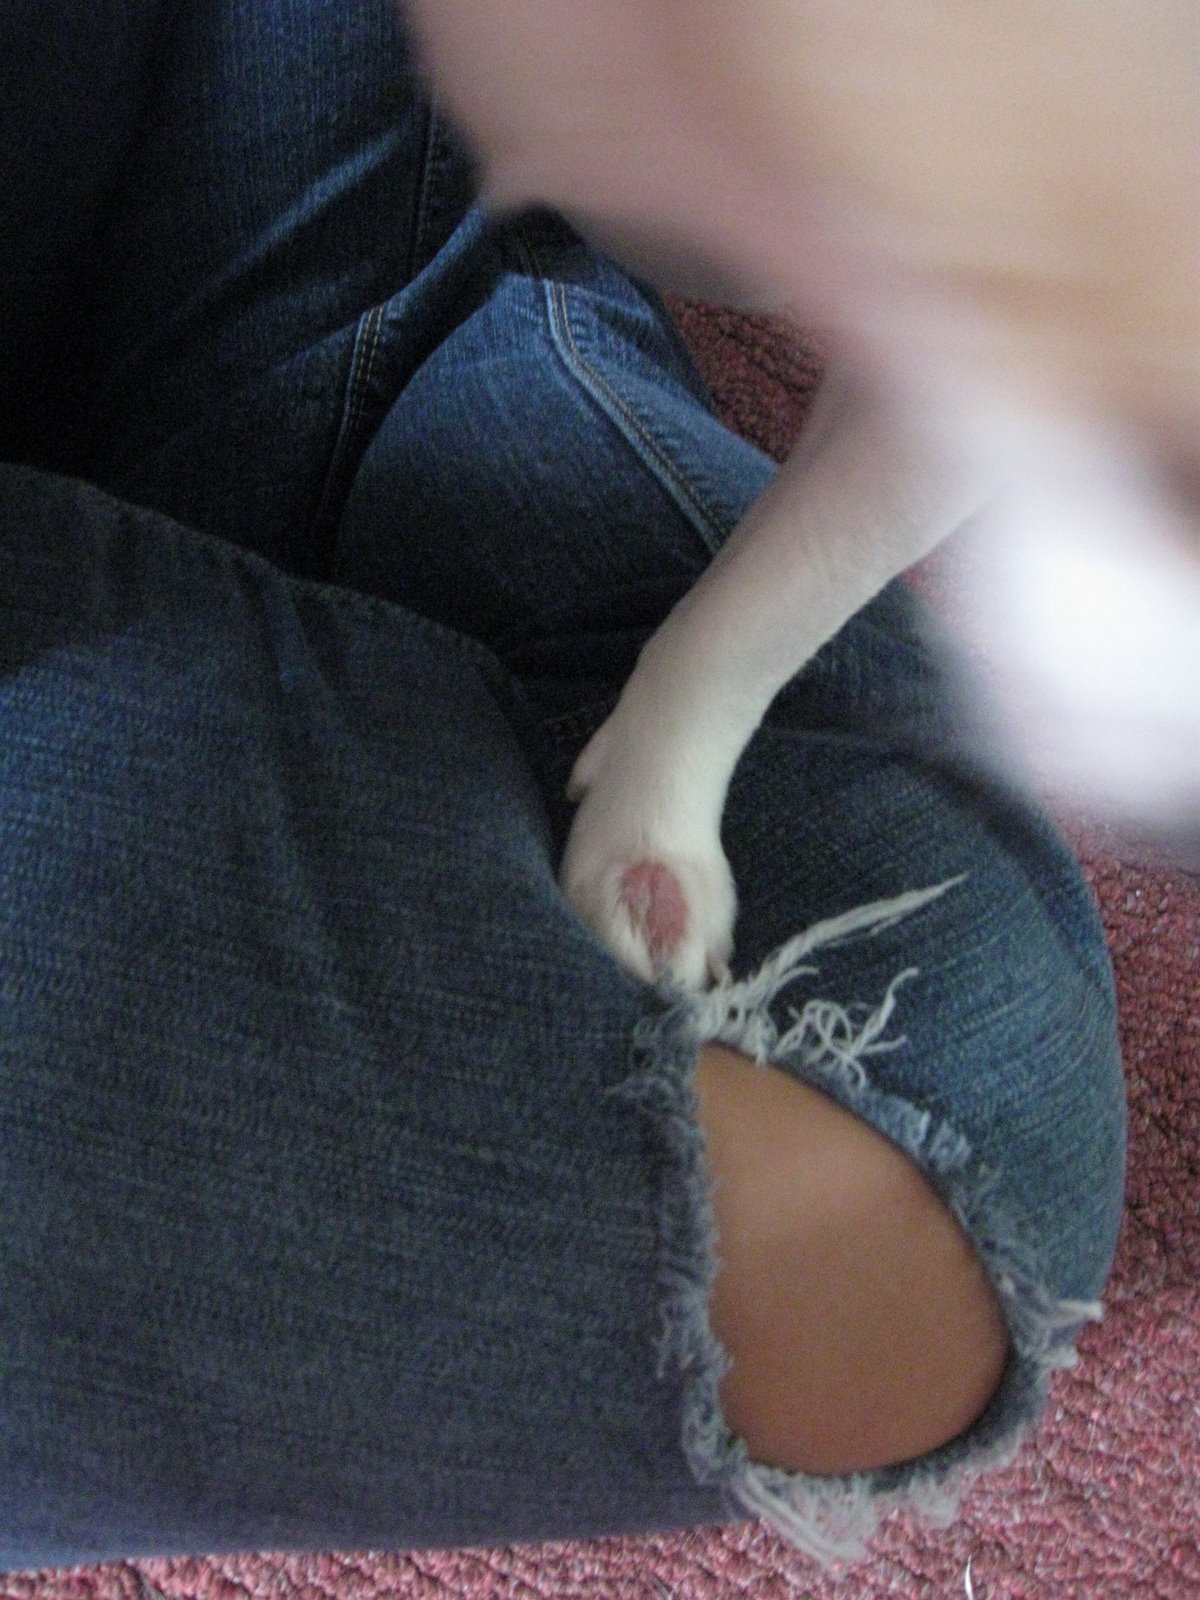
A few weeks ago Daisy started scratching at what I call her knees. I mean scratching like crazy. She scratched and bite and licked at her 'knees' so much that she worried the hair off the skin and made the area red and pitiful looking. Then all of a sudden she stopped messing and the hair is starting to slowly grow back.
 
Then a few days ago I noticed her biting and licking at one of her front paws. Look at how horrible this looks. She was none to happy about this picture either, hence the blur spot that is her body.

I checked her over and what did I find but two spots on her belly that were starting to look like the places on her little knees. So off we went to the vet.

Turns out she has a sever food allergy to the red dye that was in her kibble and treats. So the Dr. put her on some pills and gave her a spray for the itchy spots. It's only day one of her medicine but I'm hoping it kicks in quickly so she's not constantly scratching and biting all over her furry body. Poor puppy.

My vet did tell me that she'd only give her dogs cheese as a treat and not any of the processed treats you'd find in the market. She recommended getting a block of cheese, cutting it up and giving her a few a day. At least Daisy gets something special out of her trip to the vet.


Posted by Picasa

Wednesday, August 4, 2010

Root Beer CupCakes

This post is dedicated to Connor P, one of the best kids I've ever had the honor to meet and hang out with. (Connor, if you and your mom makes these make sure to tell me how they turn out!)


Root Beer Cupcakes with Root Beer Glaze
2 1/2 cups of Root Beer soda
2 tsp vanilla extract
2 cups dark brown sugar
1 cup butter
2 eggs
3 cups all purpose flour
1 TBS baking powder
2 tsp baking soda
1 tsp salt

Preheat oven to 350ºF.
In a bowl, mix together root beer and vanilla. Set aside.
In a separate bowl, combine flour, baking soda, baking powder and salt. Set Aside
In a separate mixing bowl, cream together butter and sugar until light and fluffy.
Add eggs to butter sugar mixture, mix until smooth
Mix with mixer on lowest speed, s l o w l y pour in root beer mixture.
Mix until smooth and lump free. Stir frequently.
Pour into lined cupcake pan. (Use foil cupcake liners to avoid "leakage" later.) Fill nearly to the top, not 2/3 like most cupcakes recipes call for.
Bake for 15- 20 minutes, until golden brown and cake springs back when touched.

Root Beer Glaze
2 cups of confectioners sugar
1/3 cup root beer

Whip together until smooth. (I actually used a little less root beer because 1/3 cup made the glaze too runny.)


If you'd rather have frosting for your cupcakes here's a good one for Butter cream that would go great with these soda cakes.

Butter cream Frosting
1 cup confectioners sugar
2 TBS butter, softened
2 tsp vanilla

Whip together until smooth.


Not the best picture I've ever taken of a cupcake but these things were so moist I was unable to pull the cupcake wrapper off of them without some of them crumbling. The cupcake by it's self was great but in my opinion what set these cupcakes apart for the rest of the crowd was the glaze. I'm tempted to make this root beer glaze and smear it over some chocolate cupcakes. Heaven right?

Posted by Picasa

Tuesday, August 3, 2010

My Honey Pillow

The guy I'm seeing accidentally ruined one of his dress shirts. Knowing how much I love to reuse clothes for different things he offered it to me instead of tossing it. Super sweet right? I know, and he's all mine!
                                   So I cut off the collar and the sleeves.
Then I opened each sleeve up the seam and cut these into 3 inch wide strips. (Which I apparently didn't take a picture of?)

After pinning the body part of the shirt to fit my object, I sewed up the side seams and the bottom seam. Can you guess what I'm making yet?

Then I used the 3 inch wide strips to make a really really really long ruffle that I attached to the rough edge of the one side seam I didn't sew together. I'm so glad I left the pocket on the shirt too!

It looks especially cute with my nifty owl pillow doesn't it? I played around with the position of the ruffle before I finally decided on sewing it to the opening of the pillow. My original plan was to sew the ruffles on similar to how I did it with this shirt. I just didn't have enough ruffles to make it work. It would have been super cute though either way.  My honey pillow has to be the softest pillowcase I've ever had. Maybe he can accidentally ruin a matching shirt so I could sew up another. :)


Posted by Picasa